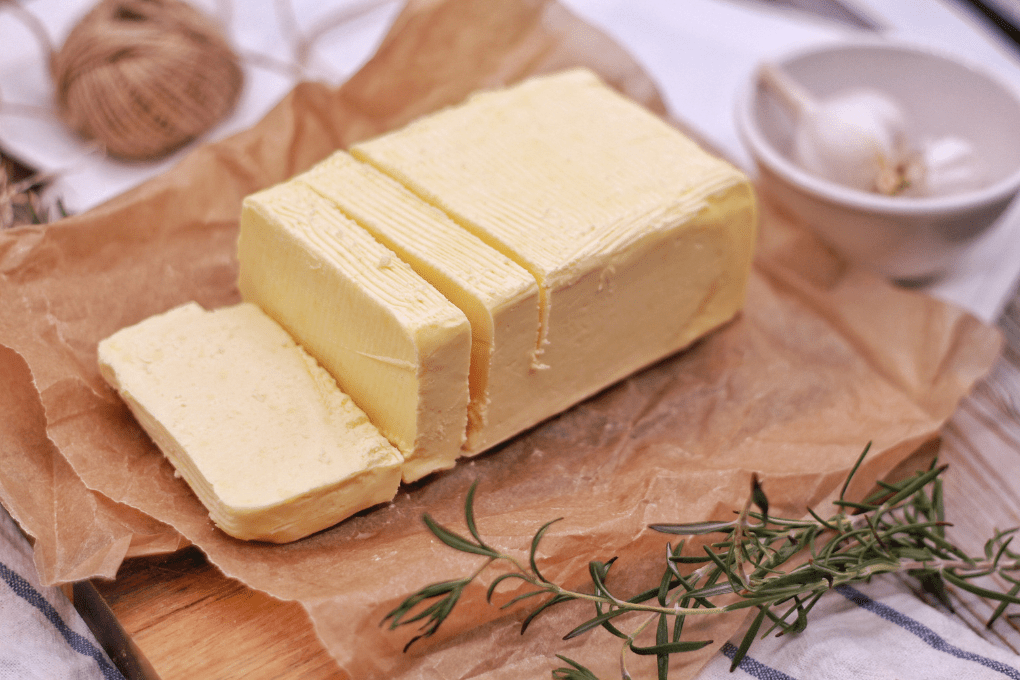
Butter making has a long history dating back thousands of years and is present throughout many cultures’ traditions.
It is believed that during a shepherd’s travels, the milk that was strapped to the back of sheep, sloshed around so much during the journey that the butter had formed in the bucket. While the first reported butters came from milk of other livestock, cow’s milk butter is the most prevalent nowadays. We can easily purchase butter from the grocery store or you can make it at home using the recipe below.
While “churning butter” sounds like a complicated, time consuming, multi-stepped process, making butter is actually quite simple and can be done in under 20 minutes. Whipping up your own butter is particularly great around the holiday season when you have leftover heavy cream hanging out in your refrigerator.
If you don’t own a mixer or are looking for a kid-friendly activity, try making Butter in a Jar.
How to Make Butter
Yield: 1 cup of butter and 8 oz of buttermilk
Ingredients:
- 1 pint (2 cups) heavy cream or heavy whipping cream
- ½ tsp salt (optional)
- 3+ cups of clean water
Equipment: Stand mixer, food processor, or hand mixer. We recommend using a stand mixer as it’s the easiest and less messy, but any of the options will also work. 2 medium bowls, fine mesh sieve, kitchen towel, and container to store your delicious fresh butter.
Instructions:
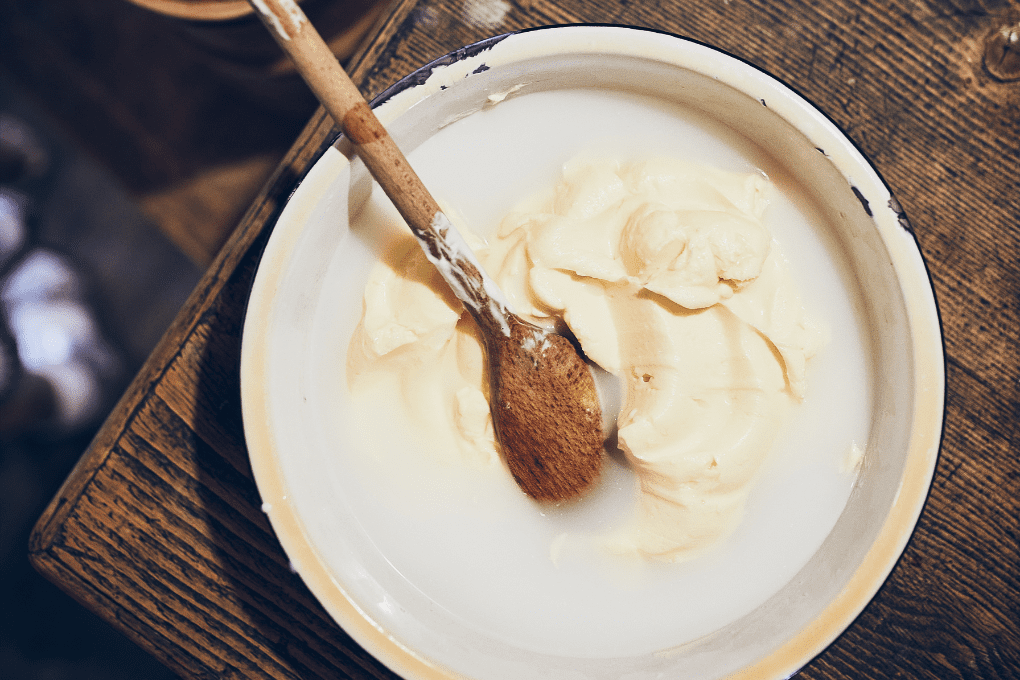
- Place the cream in the bowl of your stand mixer with the whisk attachment. Turn the mixer on medium-high. Whip the liquid as if you are making fresh whipped cream. Cover the sides of the bowl with a kitchen towel as it will start to splatter. Keep whipping for about 5-7 minutes until the butter has formed a solid mass and has separated from the liquid. The remaining liquid is actually buttermilk and can be used in other great recipes such as breads, pancakes, or your favorite marinades.
- Place the sieve over a bowl and pour the butter and buttermilk into the sieve. Pick up the butter mass and squeeze into a ball, releasing as much liquid as possible.
- Time to give the butter a bath. Add the butter to the clean bowl and cover with ½ to 1 cup of very cold water. Using a spoon or your hands, press the butter into the water, the water will start to become cloudy with excess buttermilk. Pour off the cloudy water into the sink and repeat the previous steps with new water until the water remains clear and no more buttermilk can be released.
- Using a paper towel, gently pat the outside of the butter to dry slightly. Add the optional salt to the butter and mix with a spoon to incorporate. Place the butter in the storage container and place in the refrigerator. Butter can be kept in the refrigerator for up to 3 weeks.
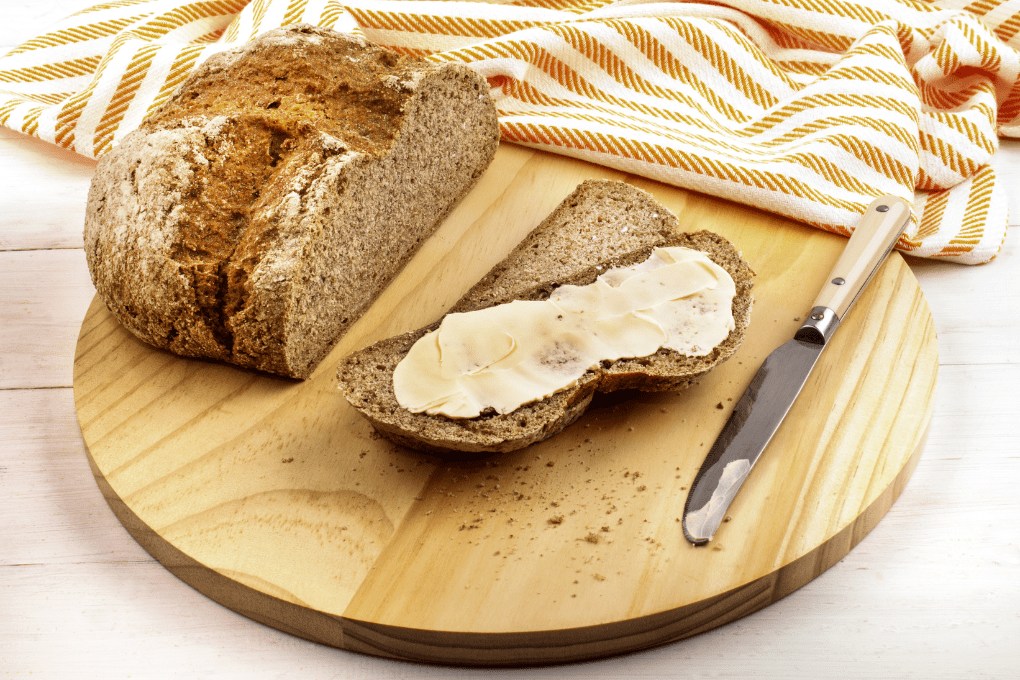
Now your butter is ready to be used in all your favorite recipes.
Pro tip: finely mince a few cloves of garlic, and a handful of parsley and chives and mix into the butter to create a tasty compound butter. Perfect on a piece of fish, steak, or spread over a whole chicken before roasting.
In the past, butter received backlash for misinformation and the rise in popularity of alternative spreads. But butter is back, baby! A pad of butter has a place at the table with a healthy, balanced diet.
For more delicious recipes, checkout New England Dairy’s recipe page.