Hosting a live virtual farm tour is a great way to engage audiences on the farm. In 2020, we hosted six live virtual farm tours and reached over 5,400 viewers including students, teachers, families, consumers, and health professionals. We learned a lot in the process and have outlined the steps we took to plan and execute our tours for farmers interested in hosting their own live virtual farm tours.
Live virtual farm tours have varying levels of complexity. They can be as low tech as an impromptu Facebook Live, or as involved as the steps listed here. Contact New England Dairy for help determining what type of tour best meets your needs and goals.
Step 1: Getting started
Identify technology needs.
- Use a smartphone with a camera and microphone to stream the tour.
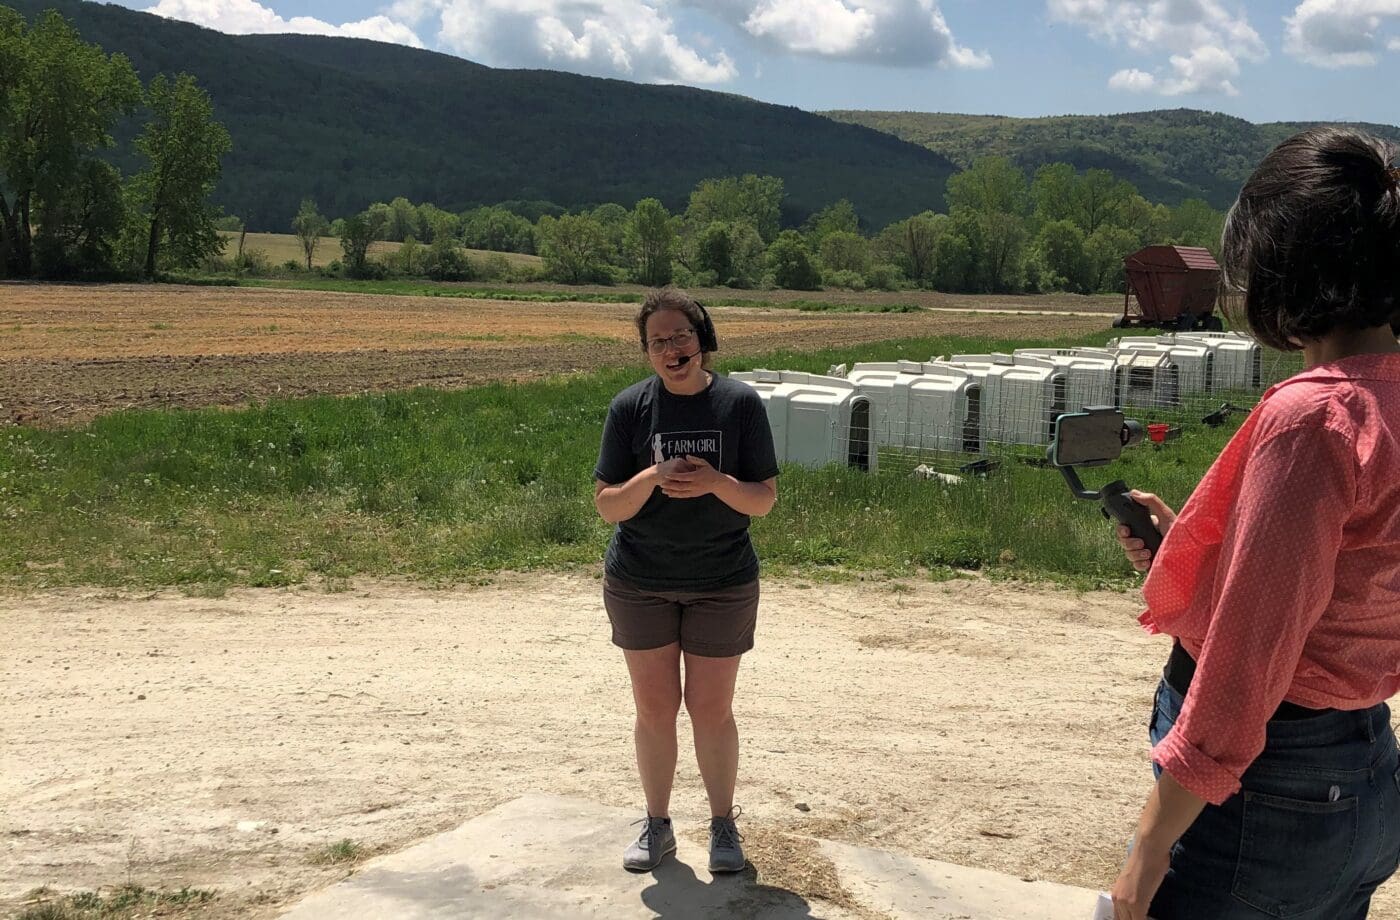
- Use a gimbal or selfie stick when walking around the farm to stabilize smartphone. This improves the streaming quality by eliminating shakiness and providing a smoother, more professional look.
- Equip the speaker with headphones or a Bluetooth headset with a microphone to improve audio quality. Consider purchasing a Bluetooth noise-canceling headset; this is not necessary, but it eliminates background noise on the farm (a tractor driving by, background conversations, etc.) and gives the speaker freedom to walk away from the phone as they speak.
Determine tour roles.
- The tour guide walks viewers around the farm, shares information, and answers viewer questions.
- The camera operator films the live virtual tour. The tour guide can double as the camera operator or a second person can act as the camera operator.
- The moderator is an optional second speaker. They help guide the conversation and ask the tour guide questions.
- We filled all three roles in our live virtual farm tours. Watch them here to see how the tour guide, moderator, and camera operator roles function alongside one another.
Select a streaming platform. There are several apps available for streaming live events.
- Host a Zoom Webinar (costs associated with webinar license, free subscriptions available with limited features)
- How to Live Stream an Event on Facebook (free)
- Instagram Live: A Step-by-Step Guide for Businesses (free)
Consider incorporating live virtual farm tours into farm’s business model.
Due to ongoing interest in live virtual tours, some have added “virtual tour” sections to their websites where the public can request a tour and view information.
Tours are generally free to public schools. Some farms charge for tours with corporate and private groups as a way to offset the cost of their time. See this example.
Step 2: Test on-farm connection
Determine connection type. A strong WiFi or 4G cell signal is critical for a successful live virtual farm tour.
Conduct a live connection test. Walk the farm property while connected to a video feed to ensure that the audio and video quality are strong (i.e. video is clear, audio is understandable, video isn’t pixelated, audio and video are in time together, etc.). This test can be performed through a Zoom meeting or through a video chat call with someone on the other end that will report on the strength of the connection. Some stops may have a stronger connection than others. Some stops may not have cell service but may have Wi-Fi and vice versa.
Make a connection plan. Determine whether the live stream will rely on WiFi, cell service, or a combination of the two. For stops with a weak connection, consider skipping that stop during the live tour and pre-recording a video of that stop to share during or after the tour.
Step 3: Create a tour outline
Determine tour stops. Identify the stops of the live tour. Estimate the amount of time needed for each stop. Viewers enjoy seeing as much live footage of the cows as possible, as this assures them that the cows are happy, healthy, and well taken care of. Popular tour stops include:
- Calf barn or hutches
- Milking cow barn
- Milking parlor
- Bulk tank room
- Dry cow facility
Identify the audience (i.e. students, families, moms, etc.). Make sure that key messages and talking points are audience appropriate.
Develop a plan for answering questions live and prepare answers for tough questions in advance. Questions we commonly receive include:
- What happens to the boy calves?
- What happens to a cow at the end of her life?
- Why are the calves in such small pens?
- Why are the calves separated from their moms? Is that sad for the mom and the baby?
Conduct a live tour dress rehearsal. Practice the full tour including all stops and talking points; ensure that all technology is in proper working order for the live tour.
Step 4: Promote live virtual farm tour
Promote through existing channels. Utilize farm website, social media, and e-newsletter to promote the tour.
Identify promotion partners. Ask new and existing partners to promote the tour with their audiences (i.e. New England Dairy, co-ops, local businesses, teachers, mom groups, etc.).
Step 5: Execute live virtual farm tour
On the day of the live virtual farm tour, follow these tips for success:
- Login to the tour a few minutes early to test audio and video.
- Throughout the tour, visit outlined stops and highlight key messages and talking points. Keep a notes sheet on-hand if needed.
- Address questions live, or let viewers know they will be answered through follow-up after the tour.
- End the tour by sharing where attendees can learn more, where they can watch the tour recording, and sharing the farm’s website and social media channels.
Additional Resources
Dairy Farmers of Washington and Dairy West hosted a 1-hour webinar, “Hosting Virtual Farm Tours” for producers. Sign up to receive the recording.
To pre-record a virtual farm tour rather than host one live, Don Schindler (DMI) provides the steps, tips, and tricks here.